
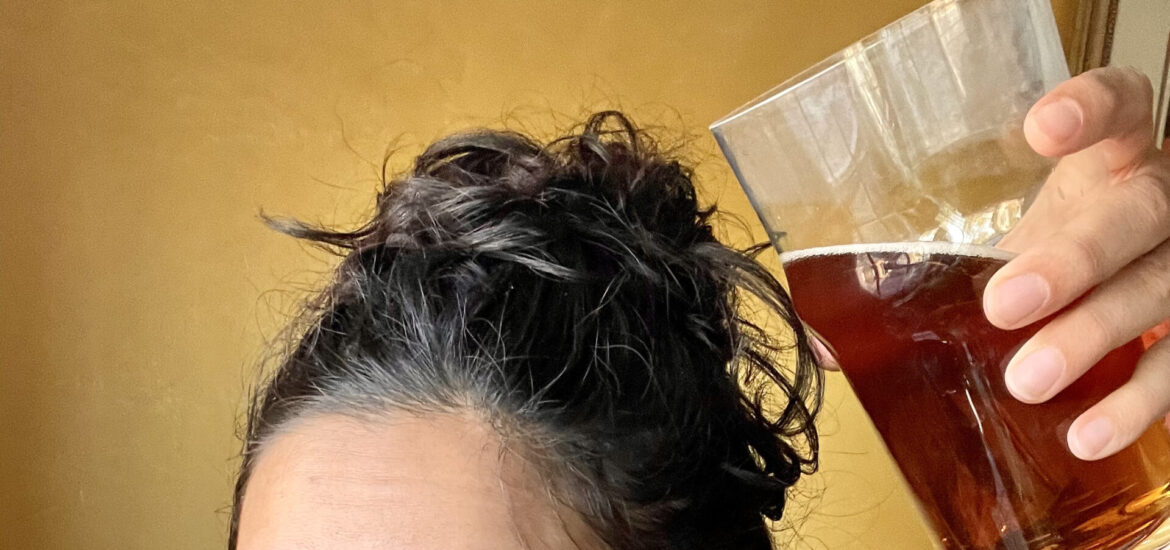
“Your shower beer is getting warm.” “I know. I want it to get flat and warm to use it tomorrow.” “Umm…then good job, you’re doing great.” Since my hair rarely craves protein, a beer in the bathroom was an unusual sight for my husband to see. I give him credit for just trying to roll with it.
Before I dive in- majority of my understanding of beer rinses came from Wendy over at the Science-y Hair Blog. Check her out if you haven’t.

What
A beer rinse is a protein treatment that is quick, easy, and vegetarian friendly!
Why
Our curls are happiest when we find the ideal protein/moisture balance. I talk about that a bit in my post about porosity. Some people, especially those with fine and damaged hair, need protein regularly in their routine. Protein treatments, or a protein heavy deep conditioner, should be a regular part of your routine. Coarse, low porosity hair tends to need it in much smaller doses and less frequently. You’ll know you need more protein when your curls are falling limp and seem to lack structure. Your hair will feel TOO soft.
The process of brewing beer makes the proteins small enough to be absorbed by the hair shaft. While the fats in something like an egg can leave your hair feeling soft and shiny, the molecules are too big to actually get into the strand. If you read ingredients, you’ll notice that a lot of protein heavy hair products contain wheat protein and hops extract!
How
- Selecting your beer. You can use non-alcoholic beer or normal beer- the alcohol content in most beers isn’t high enough to have a drying effect on your hair. That being said, I don’t suggest using a 10% ABV beer on your hair- both because of the high alcohol content and because they tend to be more expensive and you’ll literally be pouring it down the drain. I would suggest using a medium to dark beer since you want it to be packed full of protein-y ingredients. I used a lager this time.
- Crack it open! You want it to get flat. And ideally at least come to room temperature since you’ll be pouring it over your head. You can pour it into a glass and just leave it out overnight, but if you need to speed up the process- you can just mix it constantly. The brief version of why you want it flat is because the smaller proteins are in the foam. More in depth? Go check out Wendy’s blog as mentioned above.
- Shower time! Cleanse your hair as normal. With a beer rinse you can skip the conditioner, but if you think you’d like some of the extra moisture or if you still need to detangle before adding the beer, condition first. If you’re not sure, try it without conditioner- you can always use a leave-in after you’re done.
- Saturate your hair with the beer. From here you have 2 options. You can leave it in for about 10 minutes, like you would a deep conditioner, and rinse it completely for a more mild protein treatment. Or for an extra boost just leave it in. You should only smell like beer for a little while, the smell dissipates as your hair dries. I used a whole bottle. I probably could have used a little less, but wanted to make sure my hair was thorough saturated. 12 oz would have been plenty. If you have shorter or less dense hair, feel free to freeze half. It’s already flat anyways.
- Style as usual! For this wash day, I used a protein free cream, topped with a mix of a protein free and a lightly protein-y gel.
Have any more questions about beer rinses? Want to share your experience doing one? Drop it in the comment section below!